DIY Wreathing
It's that time of year again! Wreathing has always been a part our family holiday tradition. I so clearly remember creating wreaths and garlands with my Mother and was always amazed how beautifully she could create a wreath and how perfectly she could tie a bow. Now I have kept the tradition alive with my own children, my daughters can hardly wait until it's time to wreath!
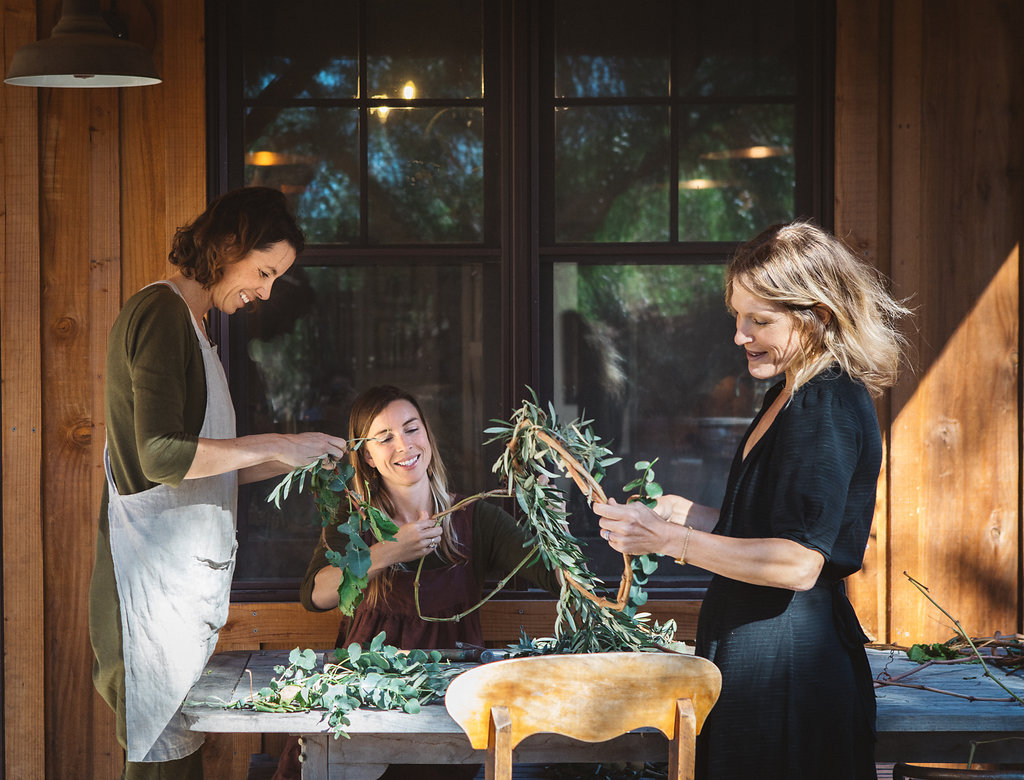
Some of the craftiest women I know have been intimidated by wreathing, but once they are doing it they have realized its quite simple and quite fulfilling! This year Ashley, Emma and I spent the afternoon wreathing together. Here are a few simple tips to create the prefect wreath for our front door.
You'll need:
- Greenery
- Scissors/clippers
- Bendable branches or wreath base
- Ribbon for bow if desired
- Wire and wire cutters
- Hot glue gun
How to:
1. Look around your yard! You'll be surprised what you can gather just around your yard or if you don't have a yard go to your local park and take a look. Here in California we have Toyon, Bay leaf, Eucalyptus, Rosemary, pine, Olives and more, all which make great wreaths. When we get our Christmas tree I always ask if I can have extra pine cuttings from the farm.
2. To begin your wreath you need 2 thick, bendable branches, grapevines are ideal but many other types of branches can work. You can aways buy a wreath base if you can't find good branches for a base. Once you have linked them in a circle the size you want your wreath you can interconnect them or use wire to secure.
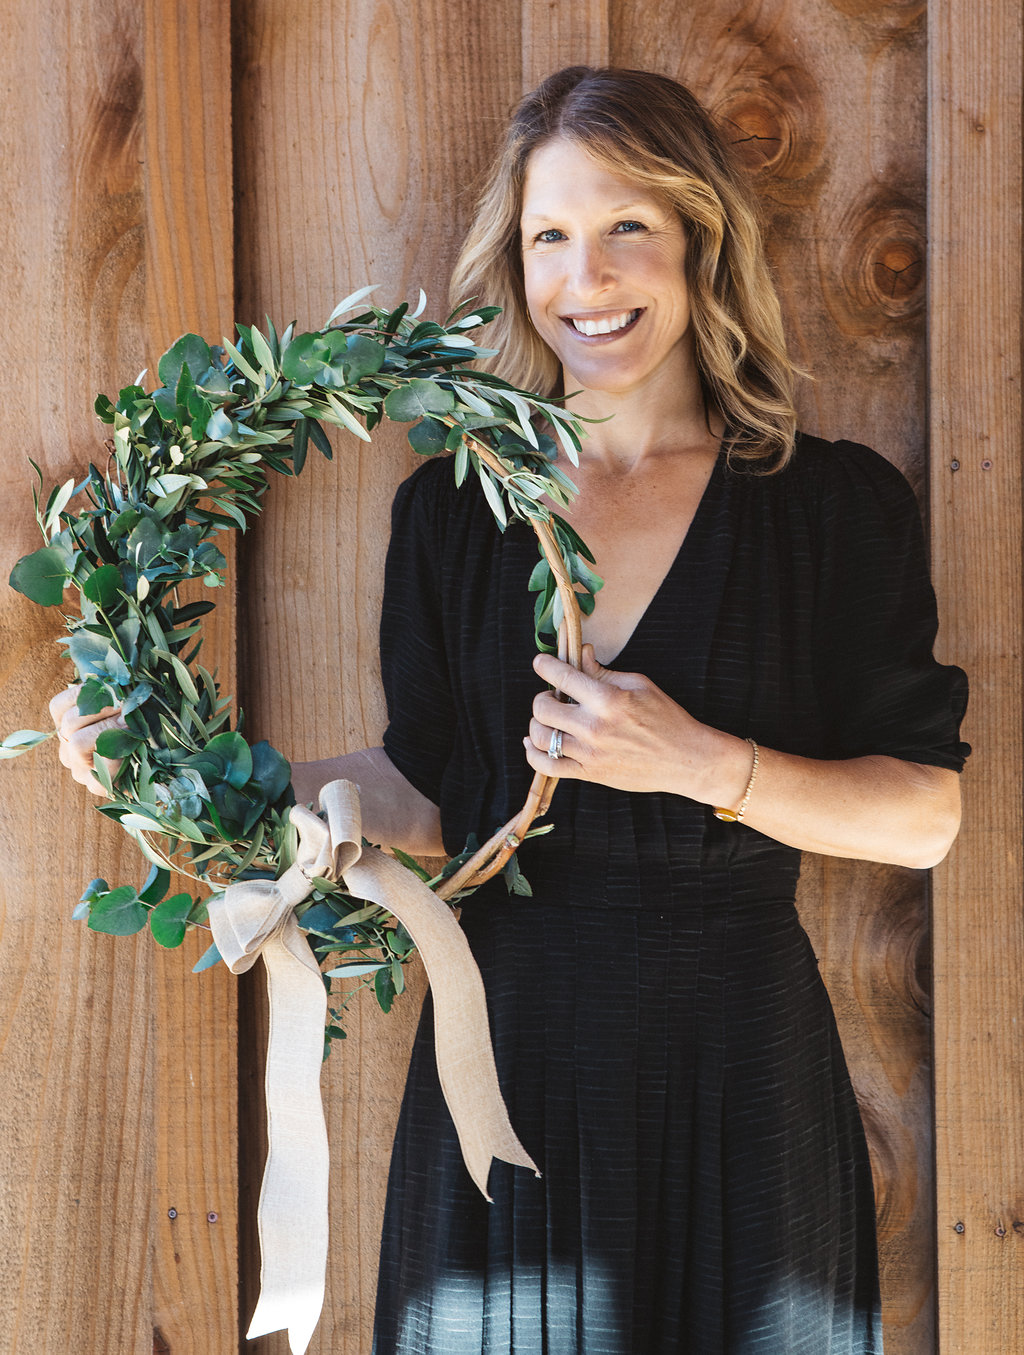
3. Now for the fun part! Begin adding greenery to your wreath. It's good to think about what you want as the base greenery for your wreath, wether it's pine, olives or anything else you may have. From there you keep adding, twisting the branches and leaves into the base and other added branches to secure. You can always use wire to secure as well. Get creative, try different things and watch your wreath grow. I like to add the special and limited greenery or flowers I have to the bottom of my wreath and balance both sides which gives a nice frame to put a bow, but your creation is up to you!
4. Now for the bow. Cut 3 strips of ribbon, each one a couple inches shorter than the other and then 1 piece about 4 inches long. The largest piece will be your tail, the ribbon hanging down from your bow, so decide how long you would like it and go from there. Now lay your tail piece out on the table, take your next shortest piece which is your first bow layer, fold ends together tie they touch and lay in the middle of tail ribbon, do the same with the next piece which is your next bow layer and now lay that piece on top of your first bow layer. Squeeze in the middle, you should now start seeing a bow! You can now use a piece of wire to secure and then take your 4 inch piece and wrap around center of the bow, secure with hot glue gun or wire. Now secure entire beautiful bow to the wreath with wire or hot glue gun as well. You can also use different ribbons to layer your bows...
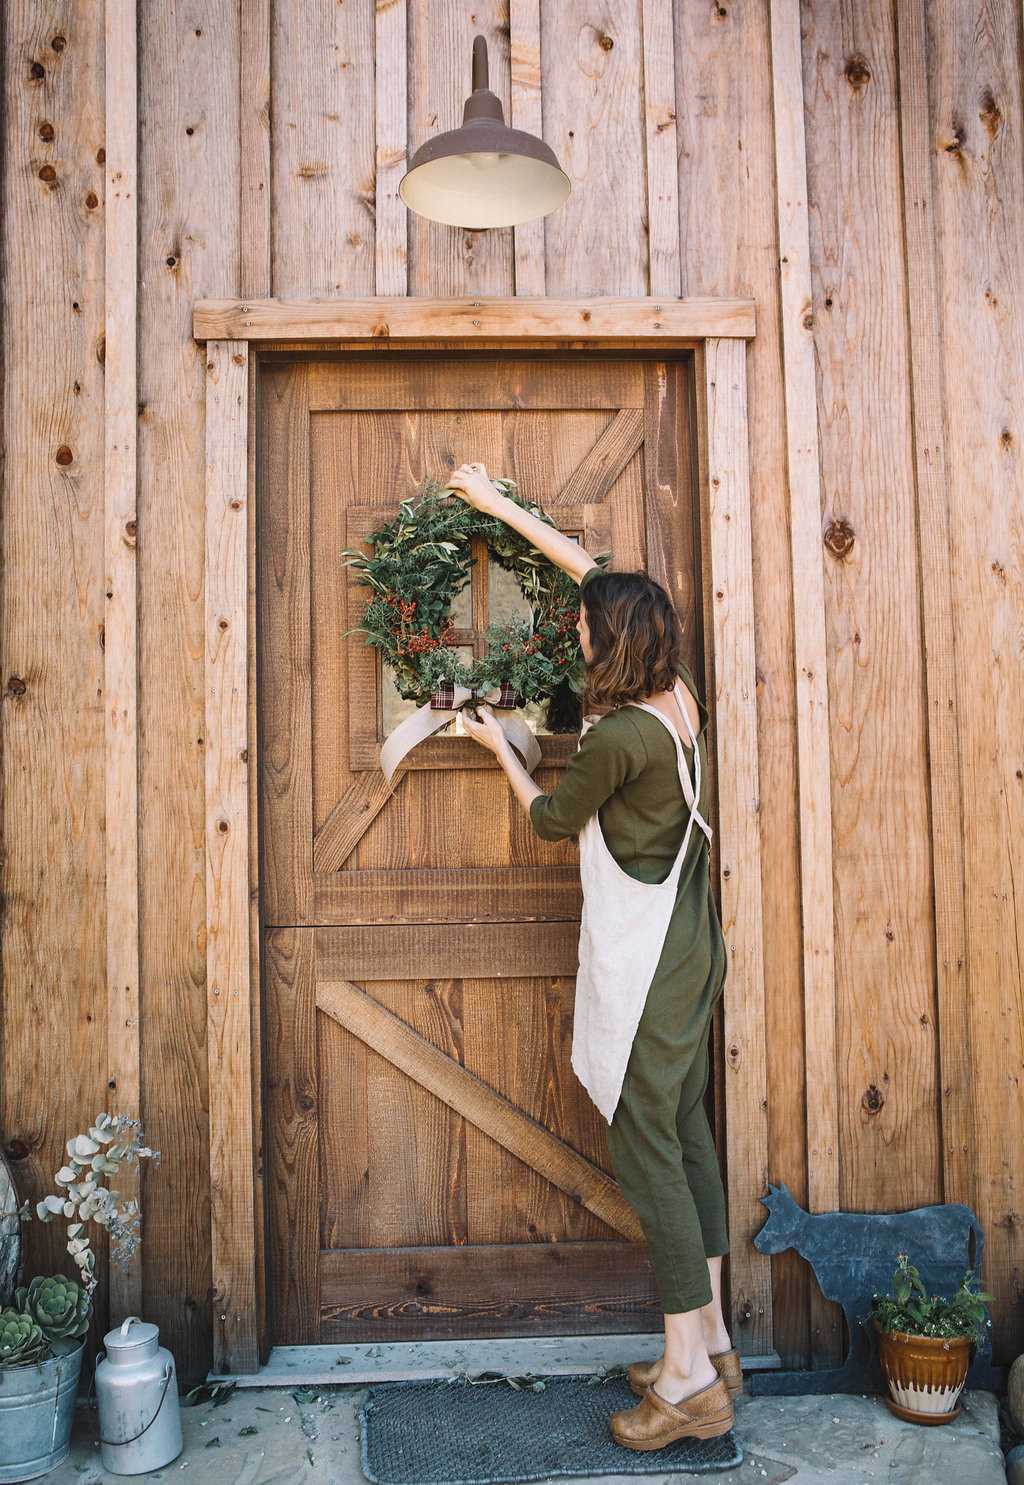
5. Congrats you have made your wreath, now where are you going to put it??
Happy Holidays!
Love, Lauren

